
How to Clean Painted Cabinets Without Damaging the Finish
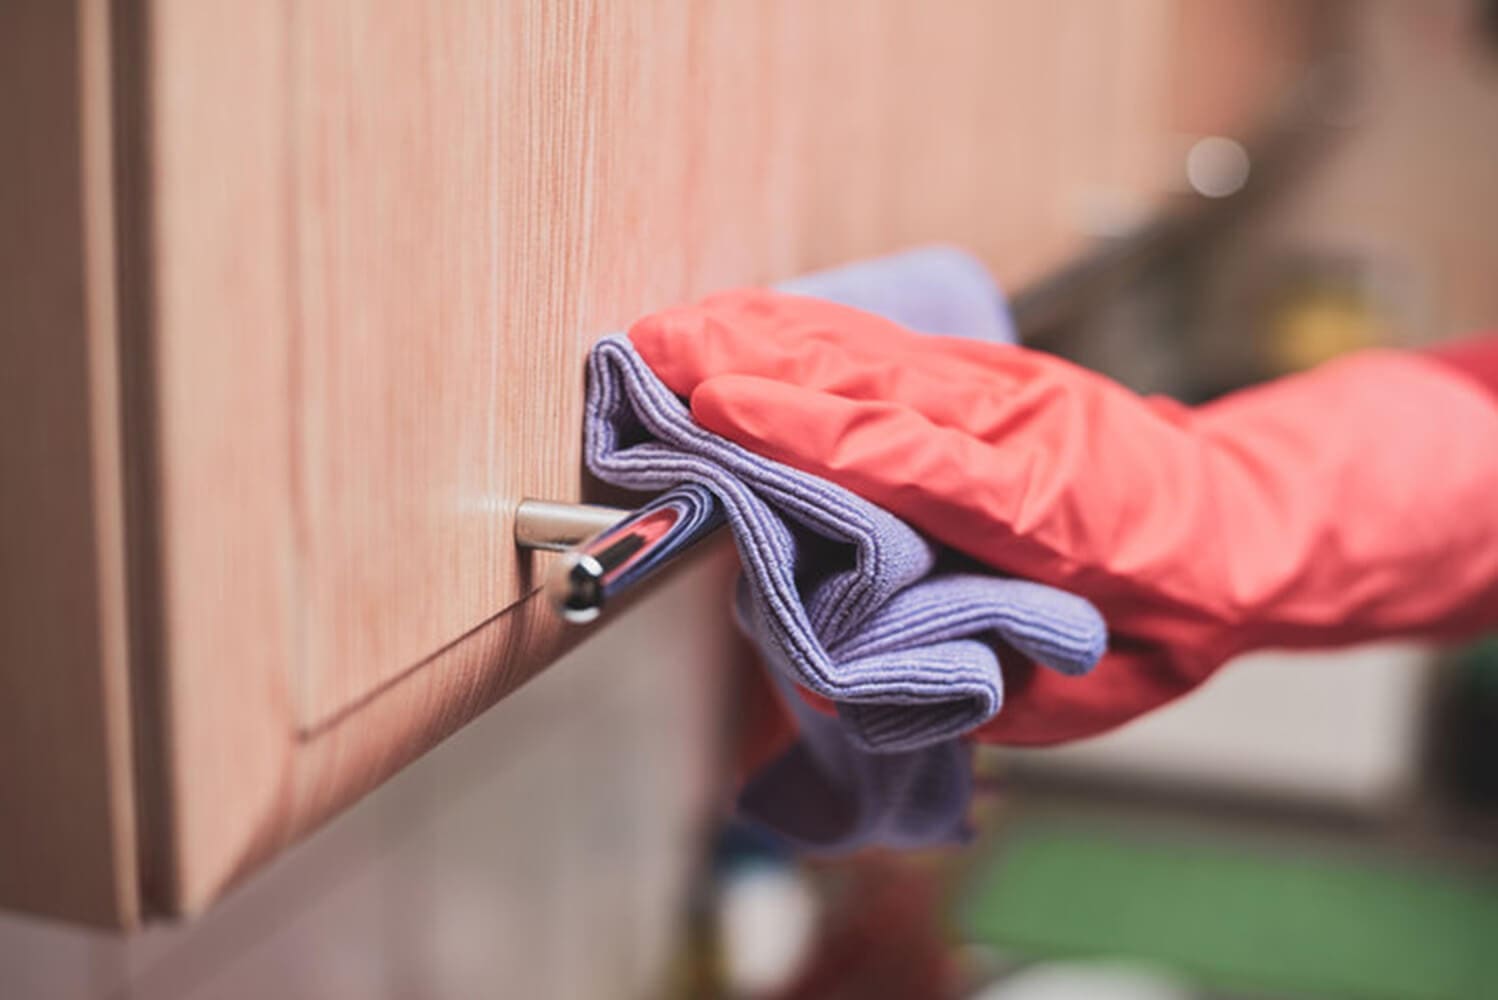
Painted cabinets can make a kitchen look completely different. But keeping them looking that way takes a little more care than most homeowners expect. The wrong cleaner, the wrong cloth, or even too much water can dull a painted finish, lift the topcoat, or leave behind scratches that accumulate into visible wear over time.
The finish is not just decorative. It is what protects the cabinet surface beneath it, and it is more vulnerable to everyday cleaning products than most people realize. A cleaning routine that works fine on tile or stainless steel can quietly degrade a painted surface with every use.
This blog walks through what painted cabinet finishes actually need, what to have on hand before you start, and how to clean and maintain them without shortening their lifespan.
What Makes Painted Cabinets Different to Clean
Most painted cabinets have a topcoat, typically a latex or alkyd enamel, that sits on top of the cabinet material, and the sheen level of that finish, whether matte, satin, or gloss, affects how much moisture and abrasion it can handle before showing wear. That topcoat is what gives the surface its color, sheen, and protective layer. It is also what cleaning products come into direct contact with, and it does not respond well to abrasion, harsh chemicals, or excess moisture.
Other surface types handle rougher treatment. Raw wood absorbs cleaning products differently. Thermofoil has its own set of vulnerabilities but holds up to certain cleaners that would damage paint. A painted finish sits in its own category, and treating it like a general kitchen surface is where most finish damage begins.
The areas that take the most punishment are predictable:
- Cabinet doors and drawer fronts near the stove, where grease lands and builds up with every cooking session
- Surfaces around handles and pulls, where hands make repeated contact
- Lower cabinet doors, which are closer to foot traffic and floor-level moisture
The goal with every cleaning session is the same: remove what has built up on the surface without disturbing the topcoat underneath. That principle drives every recommendation that follows.
What You Need Before You Start Cleaning
Getting the supplies right before you start is the most important part of protecting the finish. The wrong product does damage on the first use, not gradually over time.
What to have on hand:
- Warm water
- A small amount of mild dish soap with no degreasers, bleach, or antibacterial additives
- Two soft microfiber cloths, one for washing and one for drying
- A soft-bristle toothbrush for hardware, hinges, and tight corners
What to leave under the sink entirely: anything abrasive, anything with strong chemical additives like degreasers or bleach, and anything beyond mild dish soap and plain water. All-purpose sprays, scrub pads, and products labeled as heavy-duty cleaners are designed for harder surfaces. On painted cabinets they strip, dull, or lift the finish even when applied carefully.
How to Clean Painted Cabinets Step by Step
Step 1: Mix your cleaning solution
Add a few drops of mild dish soap to a bowl of warm water. The solution should feel slightly soapy to the touch, not sudsy or thick. Avoid hot water, which can soften the paint film temporarily and make the finish more vulnerable while you are cleaning.
Step 2: Prepare your cloth
Dampen one microfiber cloth in the solution and wring it out thoroughly. The cloth should be damp, not wet. Avoid applying the solution directly to the cabinet surface or leaving the cloth soaked. Excess moisture is one of the most consistent causes of painted finish damage because it works into seams, joints, and edges where the paint film is thinnest.
Step 3: Wipe the surface
Wipe cabinet surfaces using light, straight strokes moving in one direction. Avoid scrubbing in circles. Circular scrubbing and abrasive pressure create micro-scratches across the surface that are not visible after one cleaning session but accumulate into a dull, worn appearance over time.
Step 4: Handle stuck-on spots carefully
For grease or food that has dried onto the surface, hold the damp cloth flat against the spot for 30 to 60 seconds. The moisture loosens the residue so it wipes away without force. If it does not come off cleanly, repeat the process rather than pressing harder. Avoid fingernails, scrapers, or any hard-edged tool on the painted surface. Even a fingernail drawn across paint under pressure leaves a mark.
Step 5: Work around hardware and corners
Use the soft-bristle toothbrush for areas around hinges, hardware, and corners where a cloth cannot reach flat. Use the same light pressure and the same soapy solution. The goal is to dislodge buildup from the gap without scratching the painted surface around it.
Step 6: Dry immediately
Dry the entire cleaned surface right away with the second clean microfiber cloth. Do not let water sit on the finish or air dry on its own. Air drying leaves water marks on the surface and allows moisture to stay in contact with the paint film longer than necessary, which wears the finish down over time.
How to Keep Painted Cabinet Finishes Looking Good Long Term
Cleaning correctly protects the finish in the moment. What happens between cleaning sessions determines how well the finish holds up over years of daily use.
A few habits that make a measurable difference:
- Wipe down surfaces near the stove and sink on a weekly basis. Grease and moisture from cooking accumulate in these zones faster than anywhere else in the kitchen. Routine maintenance before buildup sets in is easier on the finish than periodic heavy cleaning.
- Clean spills anywhere on the cabinet surface as soon as they happen. Dried-on food anywhere on a painted surface requires more pressure to remove than a fresh spill, and more pressure means more risk to the finish.
- Avoid hanging wet dish towels over cabinet doors. Prolonged moisture contact along the top edge of a door degrades the finish in that specific spot over time, even if the rest of the cabinet looks fine.
- Use a soft cloth for any routine contact with the surface. Paper towels feel smooth but have enough texture to cause micro-abrasion on painted finishes with repeated use. Keep a microfiber cloth within reach for everyday wipe-downs.
- Once or twice a year, apply a thin coat of paste wax formulated for painted surfaces. This adds a light protective layer over the topcoat that makes routine cleaning easier and extends the time between more involved maintenance sessions.
A Clean Finish Starts with a Quality Paint Job
A careful cleaning routine can protect a good finish for years. What it cannot do is compensate for a finish that was not applied correctly in the first place. Proper surface preparation, the right primer, and the right paint product are what determine how well the topcoat holds up to cleaning and daily contact over time.
A finish applied without proper prep or with the wrong product will degrade faster, regardless of how gently it is maintained. The cleaning routine described here works best when it is protecting a finish that was built to last.
If the cabinets in your kitchen are due for a fresh coat, or if you are thinking about having them painted for the first time, we would be glad to walk you through what the process involves and what you can expect from the finished result. Reach out to us today for an estimate, and we can take it from there.